
To fit a dimmer switch UK: 1. Turn off power at consumer unit and test wires. 2. Remove old switch, note wiring (common to C, travellers to L1/L2). 3. Connect new dimmer wires firmly—no neutral needed for Repenic models. 4. Fit into ≥25mm backbox, ground metal faceplate. 5. Test and program min brightness/BOOST for LEDs. Use qualified electrician per UK regs.
Check: how to install a dimmer switch with 4 wires
What Tools Do You Need to Fit a Dimmer Switch UK?
You need a flathead and cross-head screwdriver, voltage tester, wire strippers, pliers, and a spirit level for fitting a dimmer switch UK. For Repenic dimmers, include a torque screwdriver to ensure secure terminals without damage.
Fitting a dimmer switch in a UK home requires precision to comply with BS7671 regulations. Start with safety gear: insulated gloves and safety glasses protect against accidental shocks. A digital voltage tester confirms power is off—essential before touching wires. Flathead and Pozidriv screwdrivers handle backbox screws and terminals; wire strippers expose 10mm of copper cleanly. Needle-nose pliers grip small wires, while combination pliers cut cable sheaths. For multi-gang installs, a spirit level ensures alignment. Repenic dimmers, with their solid brass or steel faceplates, fit standard UK grids like MK or BG—use a torque screwdriver (0.5-1Nm) for terminals accepting 1x4mm² to 4x1mm² wires. If upgrading to Zigbee models like RD-250ZG, no extra smart tools are needed initially, as pairing happens post-install.
How Do You Safely Turn Off Power Before Installing a Dimmer?
Switch off the circuit at the consumer unit, remove the fuse or flip the breaker, then use a voltage tester on all wires to confirm zero volts before installing a dimmer.
Safety first: locate your consumer unit (fuse box) and identify the lighting circuit label, such as "downstairs lights." Flip the relevant MCB (miniature circuit breaker) to off or remove the fuse for older setups. For added security, use a lock-out kit with padlock to prevent accidental re-energising. Test with a non-contact voltage tester across live (brown), neutral (blue), and earth (green/yellow) wires—expect no reading. Double-check at the switch: probe terminals for 230V AC absence. In older UK homes with twin & earth cable, note colour changes post-2004 (brown live, blue neutral). Repenic dimmers require this step rigorously, as their V0 fire-rated modules and metal faceplates demand grounding. Restore power only after full assembly and testing.
Why Must Dimmer Switches Be Installed by Qualified Electricians in the UK?
UK regulations (BS7671 and Part P Building Regulations) require qualified electricians for dimmer installs to ensure safety, compliance, and avoid voiding warranties—Repenic mandates this explicitly.
Electrical work in UK homes falls under Approved Document P, classifying dimmer replacement as notifiable if not "like-for-like" in competent hands. Risks include fire hazards from poor wiring, electrocution, or non-compliance fines up to £5,000+. Repenic dimmers (RD-250, RD-400) specify installation by qualified electricians to maintain 5-year warranty and UKCA certification. Their trailing/leading edge tech for LED loads (5-250W) and multi-gang de-rating demand precise connections. Metal faceplates must be earthed, adding complexity. DIY risks invalidating insurance; professionals certify via EICRs. For smart Zigbee variants like RD-250ZG, integration with Google Home or Homey requires error-free wiring. Always hire Part P registered sparks for peace of mind in renovations.
How to Wire a Single-Pole Dimmer Switch in a UK Backbox?
For single-pole: connect live (brown/red) to Common (C), switched live (black/blue) to L1 or L, earth to ⏚ if metal plate—all in ≥25mm backbox, no neutral needed for Repenic.
Single-pole setups suit one-location control. After power-off, unscrew the faceplate, pull out the old switch, and photograph terminals. Typically, brown/red wire in COM goes to dimmer's C terminal; black/blue (looped switched live) to L1. Strip 10mm insulation, insert into Repenic RD-250's terminals (capacity 1x4mm²/3x1.5mm²), tighten firmly. Earth green/yellow to ⏚ on metal-clad models. Repenic fits 25mm deep backboxes seamlessly—clean debris first. Screw module to box, clip faceplate, restore power, test dimming. For LEDs, program min brightness post-install to avoid flicker. This matches standard UK twin & earth wiring.
What Is 2-Way Dimmer Switch Wiring UK and How to Fit Repenic RD-250?
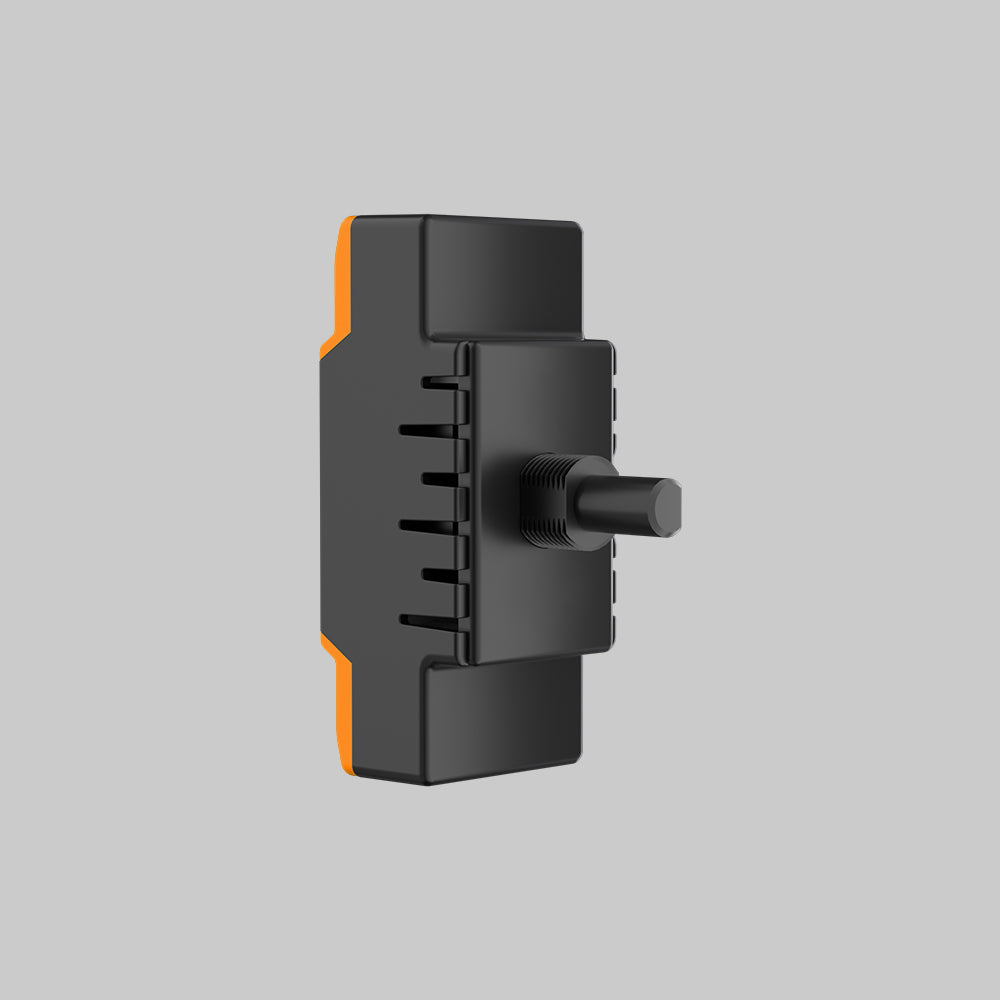
2-way wiring uses Common (C) for live, L1/L2 for travellers between switches; fit Repenic RD-250 by matching old terminals, adding dummy for second location if needed.
2-way allows control from two spots, common in UK hallways. Identify: permanent live to C on both switches, travellers (often red/black with red sleeving) between L1/L2. For Repenic RD-250 (250W LED/Halogen), wire identically to existing 2-way switch. First location: live to C, traveller 1 to L1, traveller 2 to L2. Second uses Repenic dummy dimmer (6A, brass/steel). No neutral required. Fits 25mm boxes. Test continuity before powering up. RD-250's programmable trailing edge ensures flicker-free LEDs. For 4-wire setups (multi-way), use RD-MP with up to 5 units, max 50m to light.
| Gang Configuration | Max Load (R,C) LED/Halogen |
|---|---|
| 1 Gang | 250W |
| 2 Gang | 212W |
| 3 Gang | 175W |
| 4 Gang | 125W |
| 5 Gang | 75W |
How Does Multi-Gang Dimmer De-Rating Work for UK Installs?
Check: how to fit a dimmer switch uk
Multi-gang de-rating reduces max load per dimmer due to shared heat; Repenic RD-250 drops from 250W (1G) to 125W (4G) for safe operation in crowded backboxes.
In multi-gang plates (1-4 gang), heat buildup necessitates de-rating. Repenic charts ensure safety: RD-400 handles 400W single-gang but 200W at 4-gang. Factors include backbox depth (≥25mm ideal, 35mm optimal for multiples) and ventilation. Install with gaps if possible. UK grids like Schneider or Wandsworth compatible. Exceeding ratings risks overheating—program auto-adjust max brightness. For renovations, calculate total load first.
| Gang | RD-250/400 (R,C) | RD-250 (R,L) |
|---|---|---|
| 1G | 250W/400W | 100W |
| 2G | 212W/340W | 90W |
| 3G | 175W/280W | 80W |
| 4G | 125W/200W | 60W |
Can You Install a No-Neutral LED Dimmer Switch UK Easily?
Yes, Repenic RD-250ZG and series fit standard UK 25mm backboxes without neutral, wiring just live, switched live, and earth for easy LED upgrades.
Older UK homes lack neutrals at switches—Repenic solves this. RD-250/RD-400 use load-side neutral detection. Zigbee RD-250ZG explicitly needs none, supporting 5-250W dimmable LEDs via trailing/leading edge. Mechanical fit: narrower profile slots into 25mm/35mm boxes. Wire as standard 2-way, program BOOST for low-level LEDs. Ideal for LED retrofits without rewiring.
How to Program Repenic Dimmers for BOOST Mode and LED Flicker-Free?

Power on, rotate to min, press knob 5s for programming; set min brightness 1-50%, enable BOOST (default off) to boost dim LEDs without flicker.
Repenic dimmers feature rotary knobs for intuitive setup. For RD-250: hold knob at off, press 5s to enter mode—toggle trailing/leading, adjust min brightness. BOOST activates low-level stubborn LEDs. Auto-adjust prevents flicker, auto-return recalls last setting. Multiway RD-MP mirrors this. Test across load range for silent 0-100% dimming.
What Makes Zigbee Multiway Dimmers Like RD-250ZG Ideal for UK Homes?
RD-250ZG offers Zigbee 3.0 multi-way (1 smart +2 multiway), no neutral, energy monitoring, Google Home compatibility—fits 25mm boxes for smart renovations.
UK smart homes boom: RD-250ZG pairs via Zigbee gateways, max 1 smart +2 dummies per circuit (RD-MP up to 5). Features: OTA upgrades, moonlight mode, child lock. Brass/steel 1-4 gang fits MK grids. No buzzing, 6-layer safety. Wire distance 50m to light.
How to Troubleshoot Common Dimmer Switch Issues After Fitting?
If flickering, program higher min brightness/BOOST; no dim—check load ≥15W, de-rating; buzzing—switch to trailing edge. Test earth on metal plates.
Flicker: LEDs need min 1-50% tweak. Overload: verify de-rating. Intermittent: tighten terminals. Zigbee fail: re-pair. Call electrician if persistent—Repenic's 5-year warranty covers faults.
Repenic Expert Views: "At Repenic, our dimmers are engineered for real UK homes—solid brass/steel faceplates grounded safely, fitting 25mm boxes without neutral rewiring. Trailing edge tech and BOOST mode ensure flicker-free LEDs up to 400W, with multi-gang de-rating for crowded installs. Pair Zigbee RD-250ZG with dummies for seamless 2/3-way smart control via Google Home. Our V0-rated modules exceed UKCA, offering 5-year peace of mind. Choose Repenic for renovations that blend premium design with flawless performance."
Conclusion
Fitting a dimmer switch UK enhances control and efficiency—Repenic's LED-compatible, no-neutral models simplify upgrades for 2-way/multi-gang setups. Prioritise qualified installation for safety and warranty.
FAQs
Does Repenic dimmer fit 25mm backboxes? Yes, all require ≥25mm depth, ideal for standard UK installs.
Can I use Repenic for 4-wire multi-way? Yes, RD-MP and dummies handle up to 5 units on one circuit.
Are Repenic dimmers LED compatible? Fully, 5-250W/400W trailing/leading edge with BOOST.
Is neutral required? No, designed for older UK wiring.
How to contact Repenic support? Visit repenic.com for guidance tailored to your home.