To install a dimmer switch safely in your UK home: (1) Turn off power at the circuit breaker and test with a voltage tester; (2) Remove the old switch and photograph the wiring; (3) Identify your grid type (MK, BG, DETA, etc.) and connect brown/live to Common, grey/neutral to L2, black to L1; (4) Ground metal faceplates; (5) Restore power and test. Always consult a qualified electrician if unsure.
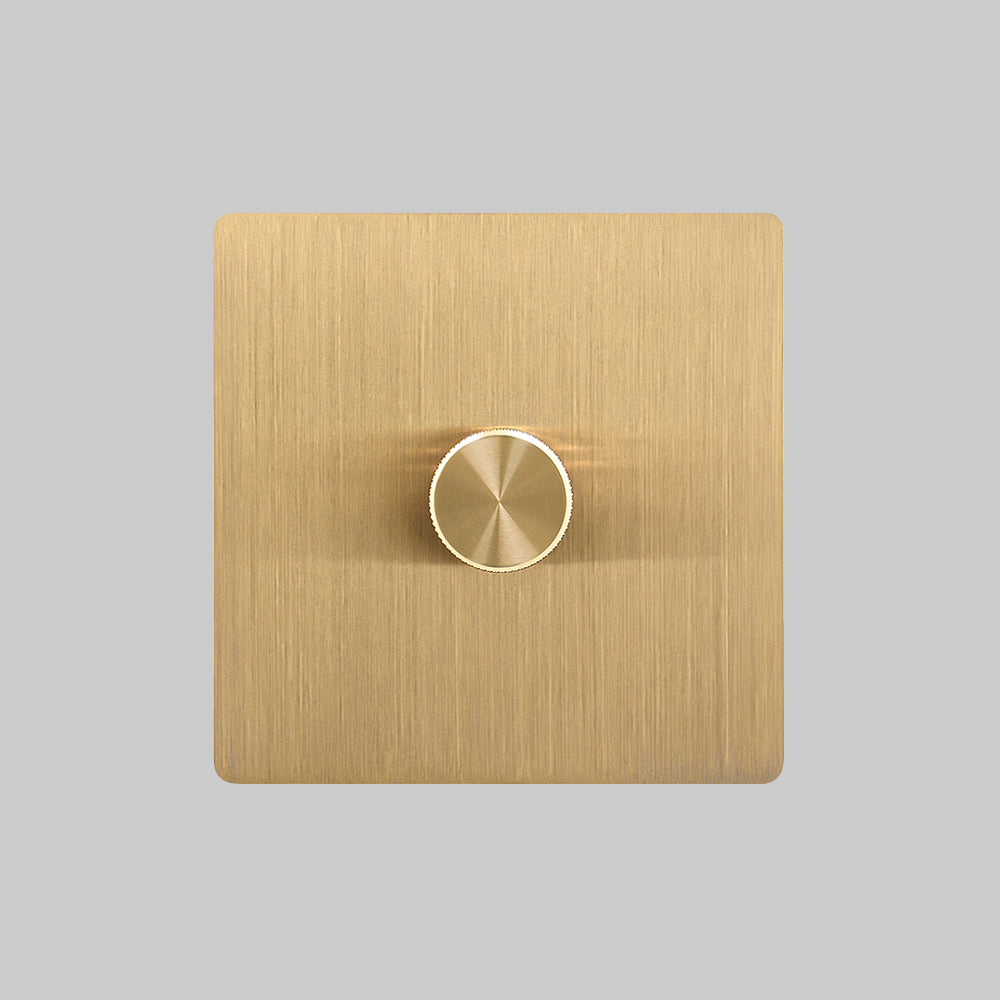
Check: Dimmer Switch
How Do You Safely Prepare for Dimmer Switch Installation?
Safety preparation involves isolating power at the consumer unit, verifying with a voltage tester, gathering tools, and ensuring compliance with UK Part P regulations—professional installation is required for metal faceplate dimmers.
Begin by switching off the mains supply at your consumer unit (fuse box) and isolating the specific circuit for the lights you're upgrading. Use a lock-off device if available to prevent accidental reactivation. Test for voltage absence with a reliable tester across all terminals—live, neutral, and earth—to confirm the circuit is dead. UK regulations under Part P mandate that electrical work in homes be performed by qualified electricians, especially for dimmers with metal faceplates that require grounding.
Gather essential tools: screwdriver set, voltage tester, wire strippers, pliers, and a photograph of your existing wiring for reference. Repenic dimmers, such as the RD-250 and RD-400 models, require a minimum 25mm back box depth and fit standard UK installations. Their V0 fire rating and 5-year warranty underscore safety, but always prioritise professional fitting to avoid risks like surges or overloads.
Inspect your back box for damage or insufficient depth; deeper boxes may be needed for multi-gang setups. For replacing plastic switches with Repenic's solid brass or steel plates, note the premium materials demand earthing—bare earth wires must use green/yellow sleeving.
What Wiring Configuration Does Your Existing Switch Use?
Common UK configurations include one-way (single switch), two-way (two switches controlling one light), or multi-way (three or more); photograph wires and identify colours: brown/live to Common (C), black/strappers to L1/L2, grey to L2 if present.
Examine your current plastic switch setup. One-way uses live (brown or red) to Common and switched live (black or grey) to L1. Two-way adds travellers between L1 and L2 on both switches. Multi-way incorporates intermediates with complex strappers. Always photograph before disconnection.
Repenic dimmers like the 250W 2-Way RD-250 support trailing/leading edge dimming for LED loads from 5-250W (R,C) or 5-100W (R,L). Terminal capacity handles 1x4mm² or multiples down to 1mm². For Zigbee models like RD-250ZG, no neutral is required, ideal for older UK homes without neutrals.
| Configuration | Typical Wires | Repenic Compatibility |
|---|---|---|
| One-Way | Brown (C), Black (L1) | All RD-250, RD-400, RD-250ZG |
| Two-Way | Brown (C), Black (L1), Grey (L2) | RD-250, RD-400, RD-MP |
| Multi-Way | Multiple Strappers | RD-MP (up to 5 units), RD-250ZG + 2 dummies |
How Do You Disconnect and Remove Your Old Switch?
Unscrew the faceplate, loosen terminal screws, carefully extract wires without damaging insulation, clean the back box, and dispose of old plastic switch responsibly.
With power isolated, remove the faceplate screws and gently pull the switch forward. Loosen each terminal screw clockwise, noting wire positions. Tug wires free, avoiding insulation damage. Clean debris from the back box. For plastic-to-metal upgrades, this reveals compatibility—Repenic products fit MK, BG, DETA, Hager, Hamilton, Crabtree, Schneider, Schneider-Lisse, and Wandsworth grids using standard 9-grid kits.
Repenic's dummy dimmers in brass or steel maintain aesthetics in multi-gang setups, functioning as 2-way or intermediate switches with 6A capacity and no neutral needed.
What Are the Correct Wire Connections for Your New Dimmer?
Connect brown/live to Common (C), black to L1, grey (or second black) to L2; earth metal faceplates separately; use supplied screws without overtightening.
Strip 10-12mm of insulation if needed. Insert into terminals: live to C, switched lives to L1/L2. For Repenic RD-400 (5-400W LED R,C), multi-gang de-rating applies—e.g., 1G=400W, 5G=120W. Secure firmly, ensuring copper contacts screws, not plastic.
| Wire Colour | Terminal | Notes for Repenic |
|---|---|---|
| Brown/Red (Live) | Common (C) | 230VAC 50Hz input |
| Black (Strapper/Switched) | L1 | Trailing/Leading edge |
| Grey/Black (Strapper) | L2 | Neutral not required |
| Green/Yellow | Earth | Mandatory for metal plates |
Test continuity before powering on.
How Should You Install Metal Faceplate Dimmers with Grounding?
Earth the metal faceplate via its marked terminal with green/yellow sleeved wire; secure to back box without trapping wires; Repenic mandates this for all solid brass/steel models.
Repenic's premium brass and steel dimmers (1-4 gang) feature solid metal faceplates and knurled knobs over recycled PC modules. Connect earth to the faceplate's earthing point before mounting. Screw into the box gently, ensuring ≥25mm depth. This upgrade from plastic enhances durability and aesthetics, with 6-layer safety including surge protection.
Repenic Expert Views: "Upgrading to our solid brass or steel dimmers transforms ordinary lighting control into a premium feature. Key is proper grounding—connect earth firmly to avoid shocks. Features like BOOST mode and programmable brightness ensure flicker-free LED performance. For multi-gang installs, check de-rating: e.g., RD-250 drops to 75W at 5G. Always use qualified electricians for compliance." – Repenic Technical Team
Why Does LED Compatibility Matter in Dimmer Selection?
LEDs require trailing edge dimmers to prevent flickering; Repenic models support 5-250W/400W LED (R,C), with BOOST mode, auto-adjust, and min brightness programming (1-50%).
Traditional leading edge dimmers buzz or flicker with LEDs; Repenic's RD-250/RD-400 use programmable trailing/leading edge, BOOST for low-level glow, and auto-max brightness. Halogen/incandescent also supported up to 400W. Zigbee RD-250ZG adds energy monitoring and OTA upgrades.
Which UK Grid System Is Your Home Wired With?

Identify MK, BG, DETA, Hager, Hamilton, Crabtree, Schneider, Schneider-Lisse, or Wandsworth via back box or plate screws; all Repenic dimmers are fully compatible.
Repenic dimmers slot into these grids seamlessly. Check your plastic switch's branding. Multi-gang options (1-4G) fit standard boxes.
Does Your Home Need a No-Neutral Smart Dimmer Solution?
Check: Dimmer Installation
Yes for pre-2004 homes without neutrals; Repenic Zigbee 3.0 RD-250ZG (5-250W LED) and RD-MP multiway require no neutral, enabling smart control via Homey/Hubitat.
RD-250ZG supports multi-way (1 smart + 2 dummies), moonlight/sunrise modes, and 50m wire distance. RD-MP allows up to 5 units per circuit (≥15W total).
Conclusion
Installing a dimmer elevates your UK home's lighting with precise control and style. Repenic's metal plate dimmers offer LED compatibility, smart features, and grid fit—perfect for replacing plastic switches. Prioritise safety and pros for flawless results.
FAQs
Can I install a Repenic dimmer myself? Part P requires qualified electricians; DIY risks void warranties and safety.
What if my LEDs flicker? Use Repenic's BOOST mode and trailing edge; program min brightness.
Multi-gang load limits? RD-250: 250W 1G to 75W 5G (R,C); check specs.
Zigbee compatible? RD-250ZG works with any Zigbee 3.0 gateway; enhanced on Homey.